This section covers the basic functions necessary to begin using Smart Site Plan to its fullest potential.
User Access
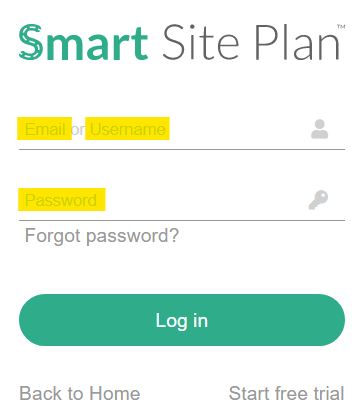
- Enter your Smart Site Plan credentials.
- Select Log In or press Enter.
- Smart Site Plan will redirect the user to a new session.
Note: If the user has already created projects within their account, by default Smart Site Plan will automatically load the user’s most recently used project
Main Menu
This overview will introduce the various options available within the user’s Smart Site Plan menu.
Note: Each of these menu items will have a related Help Article for further instructions/tips/functions. Refer to the Table of Contents.
Each of these categories is equipped with functions that will collectively keep your project progress accessible and easy to update.
This view is considered the “Main Menu” of Smart Site Plan.
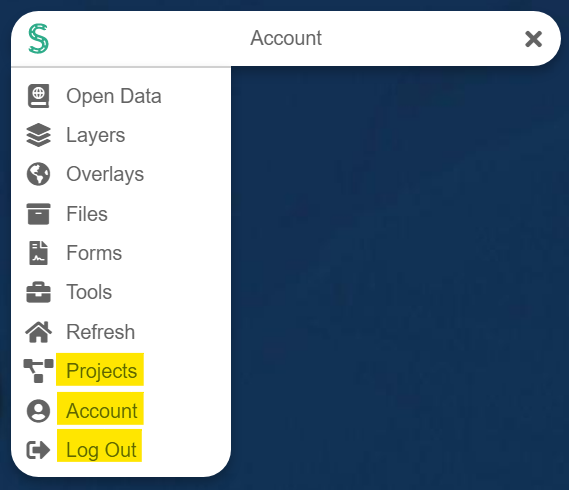 This main menu view is where you will be able to change projects, change user accounts, and log out.
Search Bar
The Smart Site Plan search bar is a versatile tool that makes finding and querying Open Data, Layers, Files, Projects, and locations simple. Using the search bar can be a great time saver. To learn more, navigate to our Search Article.
Navigation
Basic maneuvering of the map view with your mouse wheel applies to navigating Smart Site Plan, however, there is an added fractional zooming feature in Smart Site Plan. This allows users some flexibility while zooming in/out by way of decimal zooms rather than the traditional 25% incremental zoom.
- This allows for a scaled view similar to that of a Site Plan. You will see your scale in the bottom right-hand corner of the view.
- If the basemap “Google Satellite” is selected, fractional zooming is disabled by default.
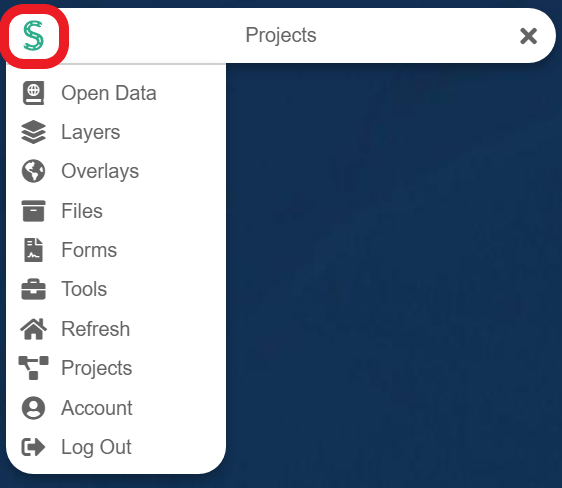 Note: Users can always return to the Smart Site Plan main screen by selecting the green (S)mart Site Plan icon on the left side of the search bar.
Switching Projects
Note: By default, the last project the user had open will automatically load upon starting a new Smart Site Plan session.
Select the Projects tab from the SSP main menu and a list of the projects available to the user will appear. Simply clicking on the Project name will take the user to the selected Project Dashboard in Smart Site Plan.
A dialogue box will appear asking if the user wishes to leave the current page.  Select OK to continue to the desired Project.
Notifications
If the user has project notifications the push notification icon will be displayed within the Smart Site Plan search bar.
The icon is a bell with a red push notification notifying the user to take action.

Sharing Maps
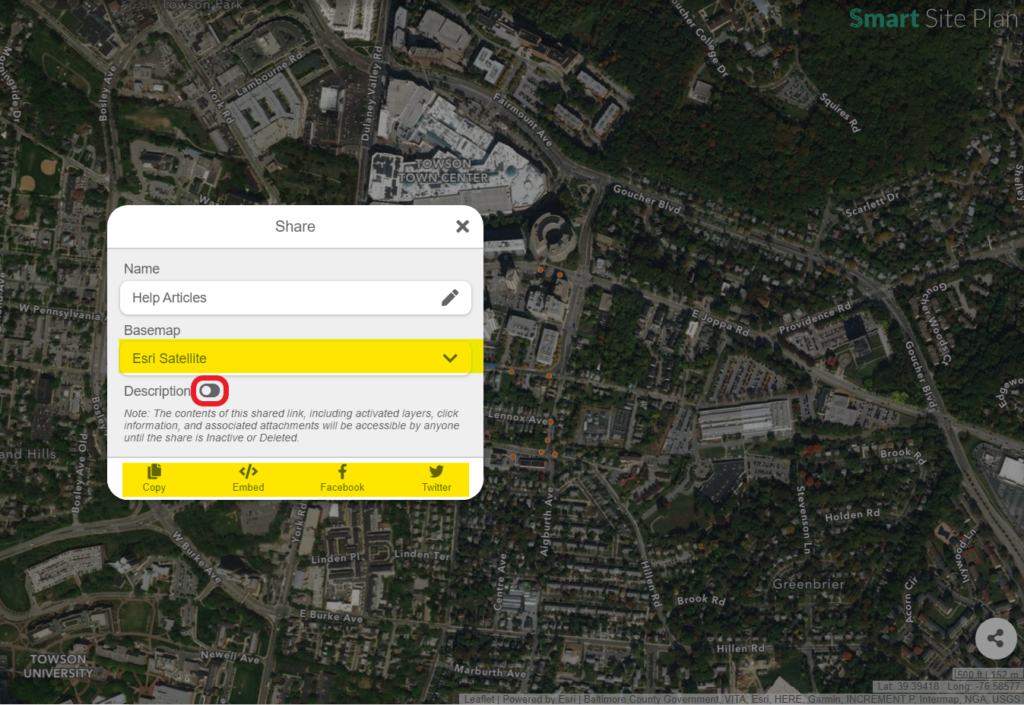
Users have the capability to send a selected map view to anyone they choose without requiring the recipient to create a Smart Site Plan account.
- Shared projects give recipients full access to the Layers and Open Data that appears on the creator’s map, including any pop-up data.
- Zoom to the selected scaled view that the user would like its recipient to see upon opening, select the connections icon at the bottom right of the view, and direct Smart Site Plan to deliver project data instant.
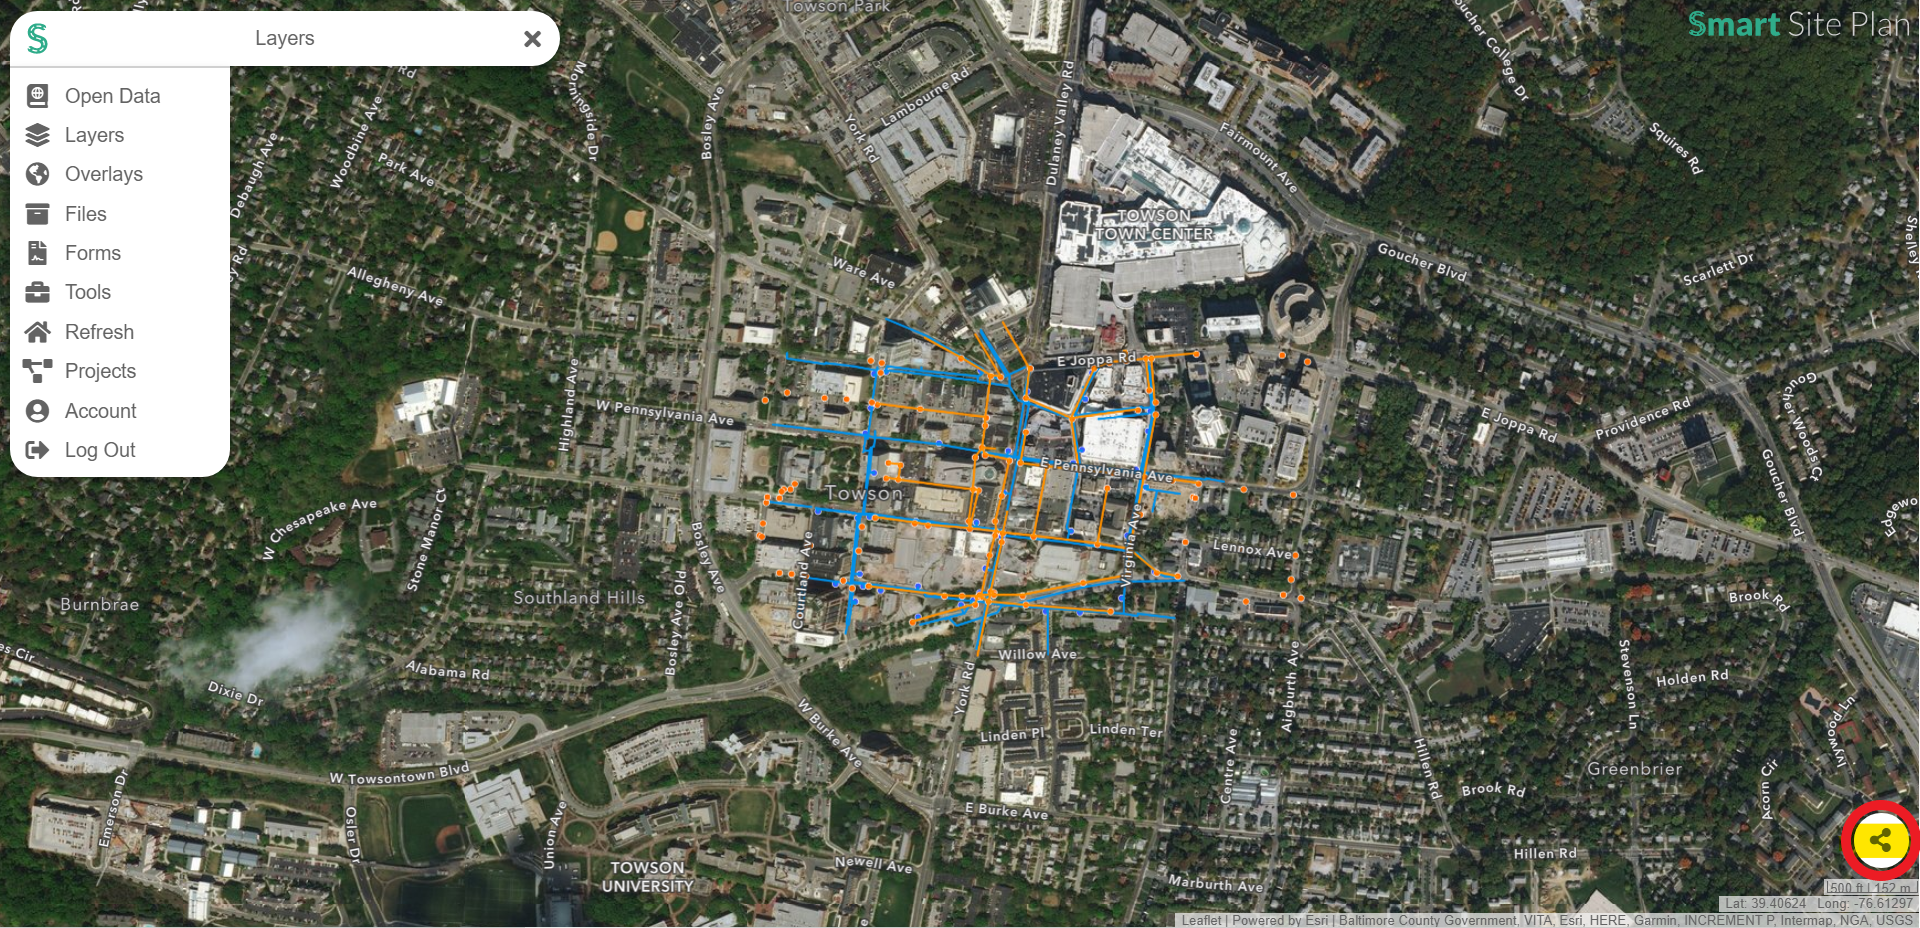 The bottom right-hand corner of the screen shows the connected ways to share your Smart Site Plan project data with anyone you give access to.
- Copy a project view and paste it into an email.
- Embed a project view as a link within other shared content.
- Share a project view to a company Facebook account.
- Share a project view to a company Twitter account.
Go to our share article to learn more.